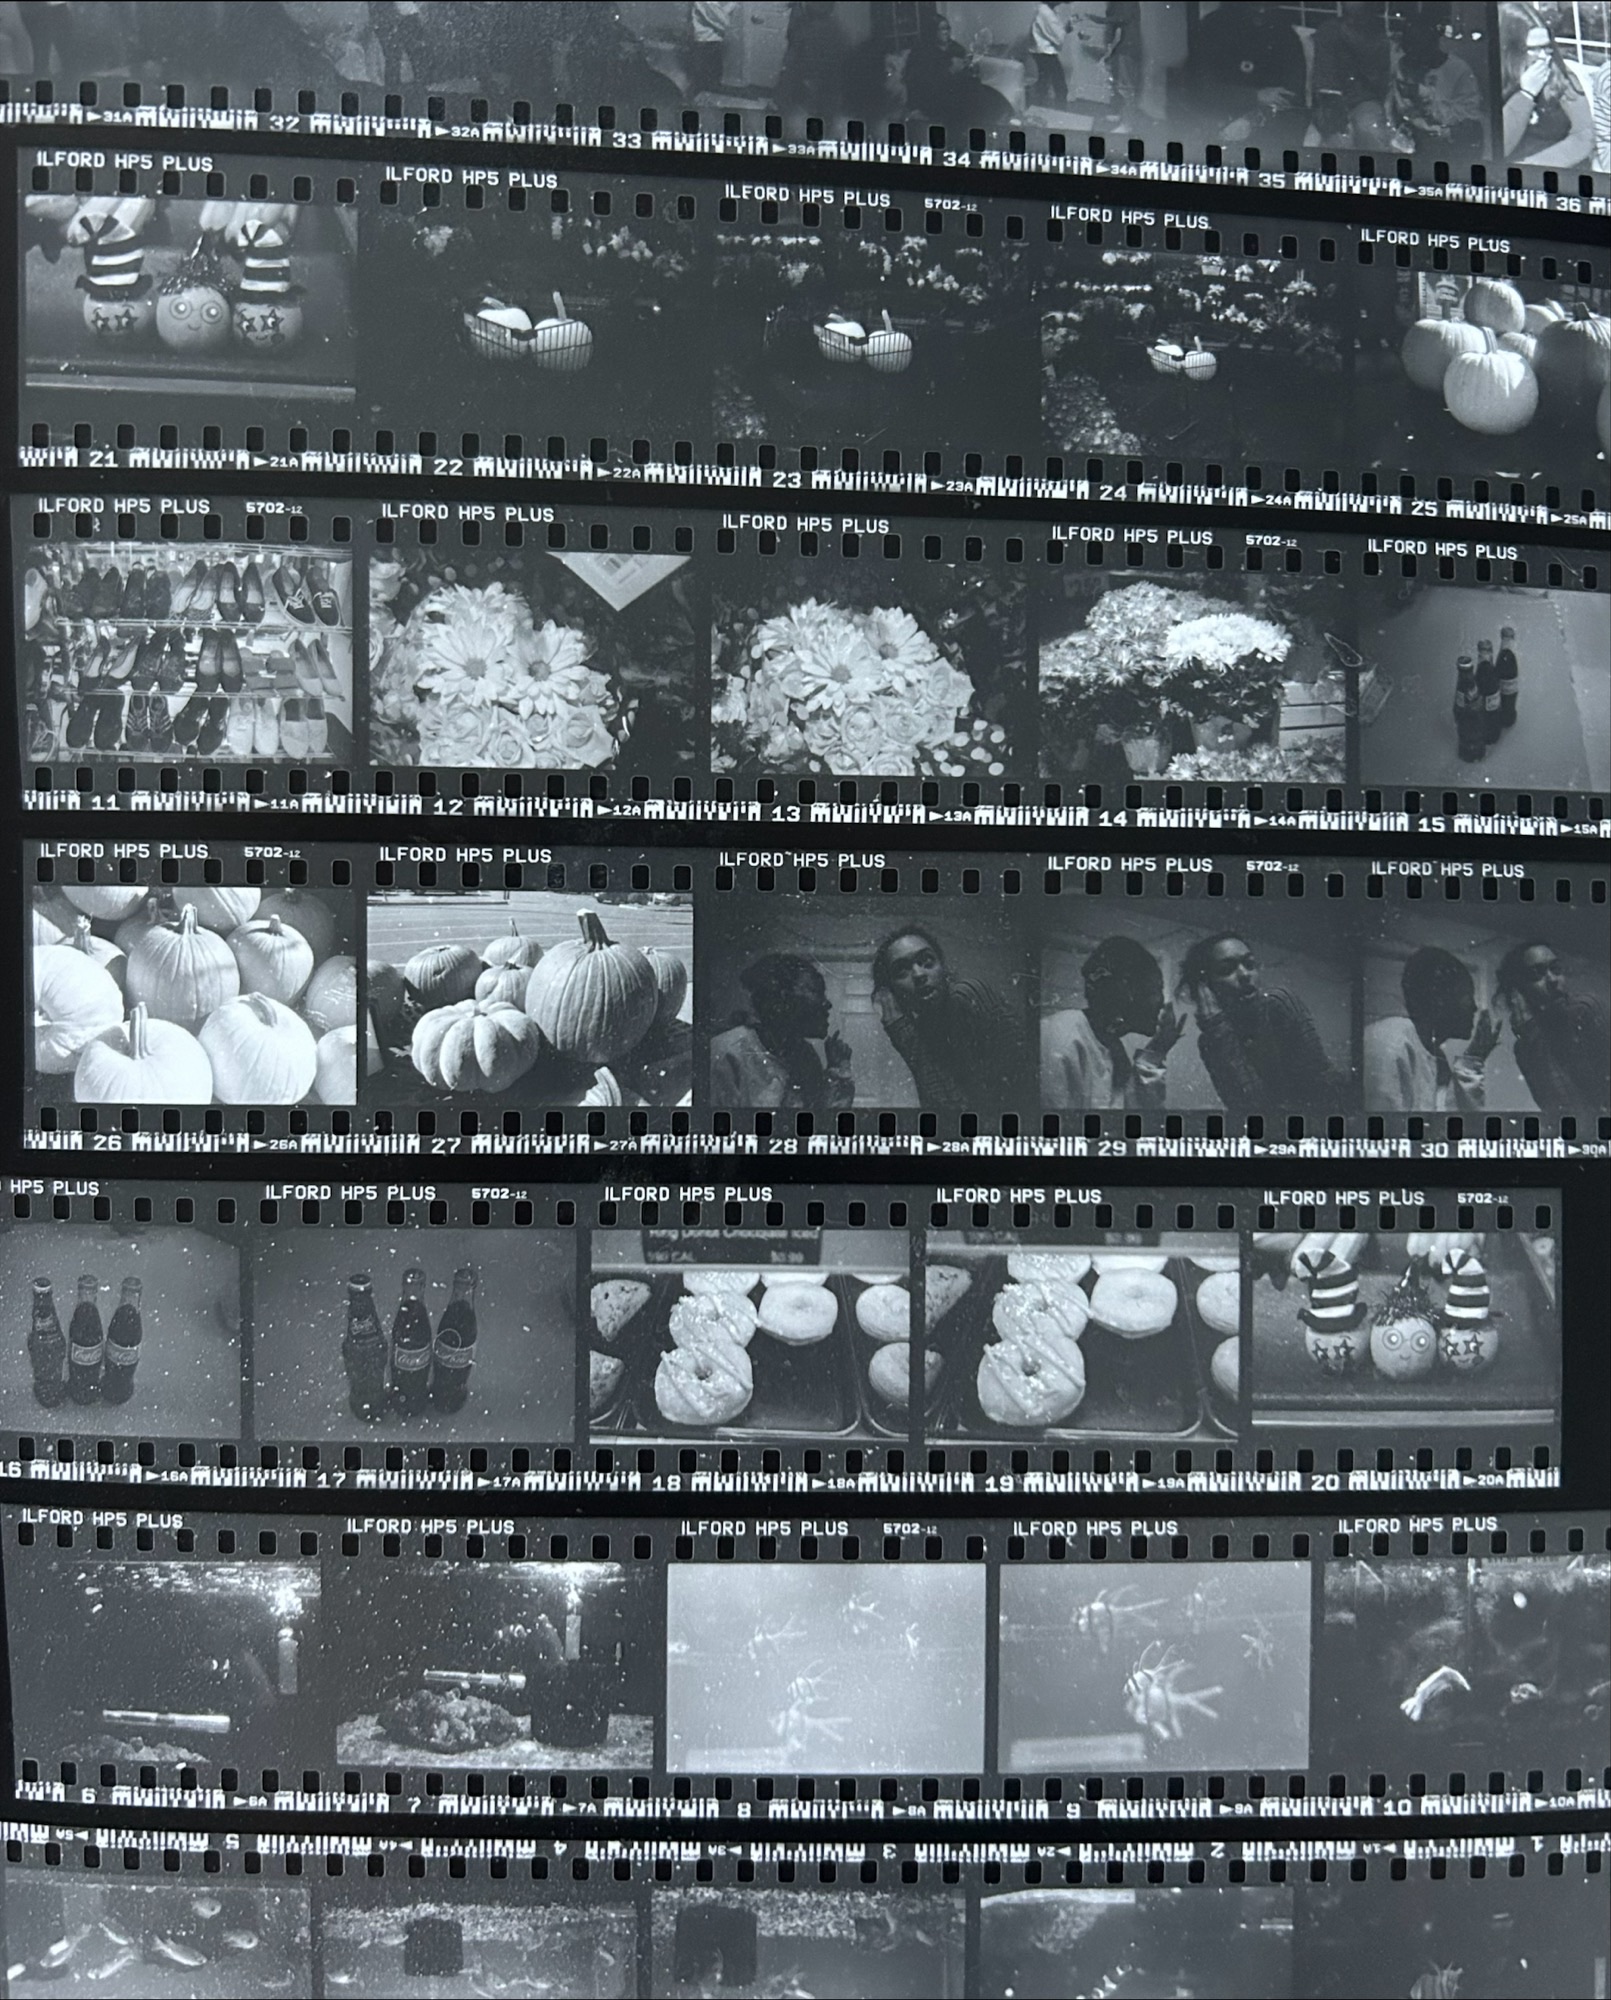
How do I develop my film negatives?
This semester I have the privilege of learning the art of film photography. Photography makes me happy. I have enjoyed practicing developing my skills in class, and getting to try something new. In this post I will explain the process I learned of developing black and white film negatives.
Preparation:
- Equipment you will need:
- Developing tank with a reel
- Chemicals: developer, stop bath, fixer, hypo clear
- Thermometer
- Timer
- Measuring containers
- Film changing bag
- Scissors and bottle opener (for 35mm canisters)
- Wetting agent
- Mix your chemicals according to manufacturer instructions. Typically, you'll need about 300-600ml of each solution for a standard developing tank
- Ensure all chemicals are at the correct temperature, which is usually around 20°C (68°F)
Loading the Film Negatives:
- Do this in complete darkness or using a changing bag: Photo negatives are light sensitive. Exposure to light before developing them ruins the negatives.
- Open the 35mm film canister using a bottle opener
- Cut the small tab at the start of the negatives off, then unroll to the other end to trim off the piece of plastic that holds the roll together
- Load the film onto the tank's developing reel
- Place the reel into the developing tank and seal it tight
Developing Process:
- Pre-wash (optional): Fill the tank with cool water for 2-5 minutes to prevent air bubbles
- Develop:
- Pour in the developer solution
- Start your timer
- Agitate the tank gently for the first 30 seconds
- Continue agitating for 30 seconds every minute
- Total development time varies by film and developer (typically 5-10 minutes) I like to do 7 1/2 minutes
- Stop bath:
- Pour out the developer
- Quickly add the stop bath solution
- Agitate for about 30 seconds
- Fix:
- Pour out the stop bath
- Add the fixer solution
- Agitate initially, then periodically for 7 1/2 minutes
- Wash:
- Rinse the film thoroughly with clean water for 10 minutes
- Final rinse:
- Use a wetting agent like Photoflo to prevent water spots
- let sit in tank for about 30 seconds
Drying:
- Remove the film from the reel and hang it to dry in a clean, dust-free area, a shower is typically a go-to place
- Use film clips to hang the negatives
- Allow several hours for complete drying if at home, clip the bottom with a clothespin to allow the film to dry straight.
- Once dry, cut and store your negatives in archival sleeves
Remember to maintain consistent temperatures throughout the process and follow the specific instructions for your chosen chemicals and film type. Once you get the hang of it, developing black and white film will be easy to do without instructions.